Page 1 of 2
Mixer911's 1200*1800 mm C02 Laser Build
Posted: Mon Feb 25, 2013 7:25 am
by mixer911
So for a background on me first.
I own a small acrylic fabrication shop that produces products for the aquarium industry. I currently am using a standard mechanical CNC running Mach3 for most production items. I have found a need for a laser cutter in the shop now and have been reading online for quite some time about them. After researching all the options out there, I have deceided to do like I always do with things, DIY!!
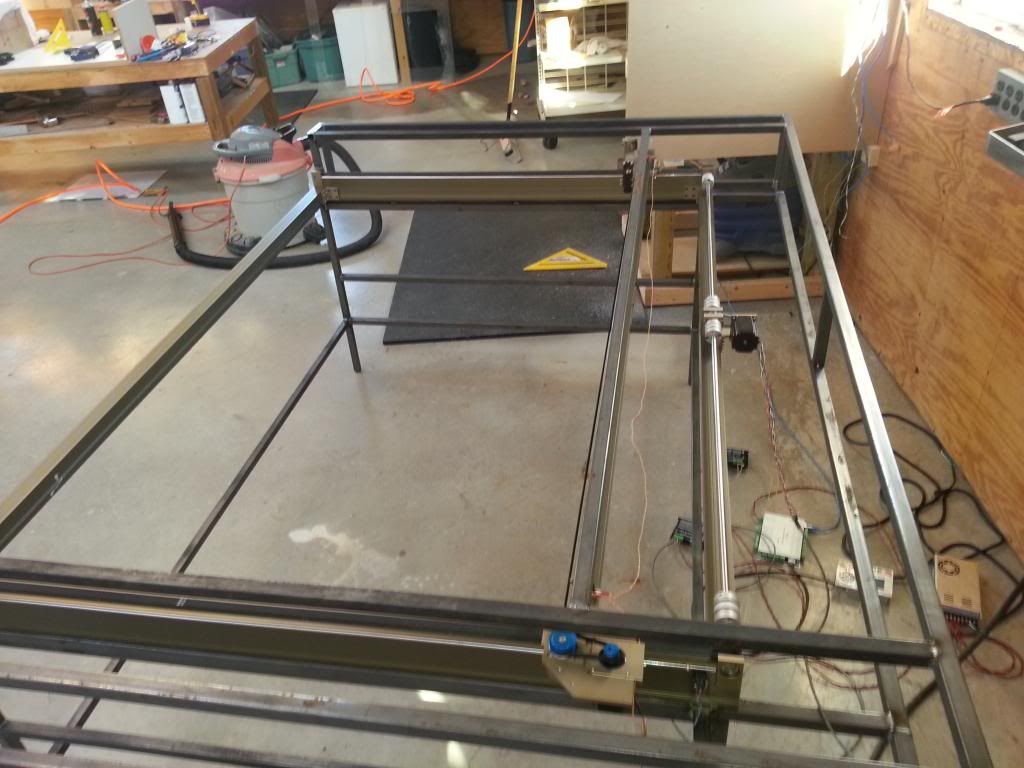
I purchased the LARGE 1200*1800 mm Laser gantry from LO. I spoke via email wtih Marco prior to the purchase. He was very helpful in this process. I also ordered the 2012 DSP Controller as well as many other items you will see in the build. So lets get started.
I am going to use a 80w RECI laser for this build. I ordered the laser and powersupply thru signbus.com, since LO was out of stock on them. It should be shipping anyday. I will let everyone know how that goes.
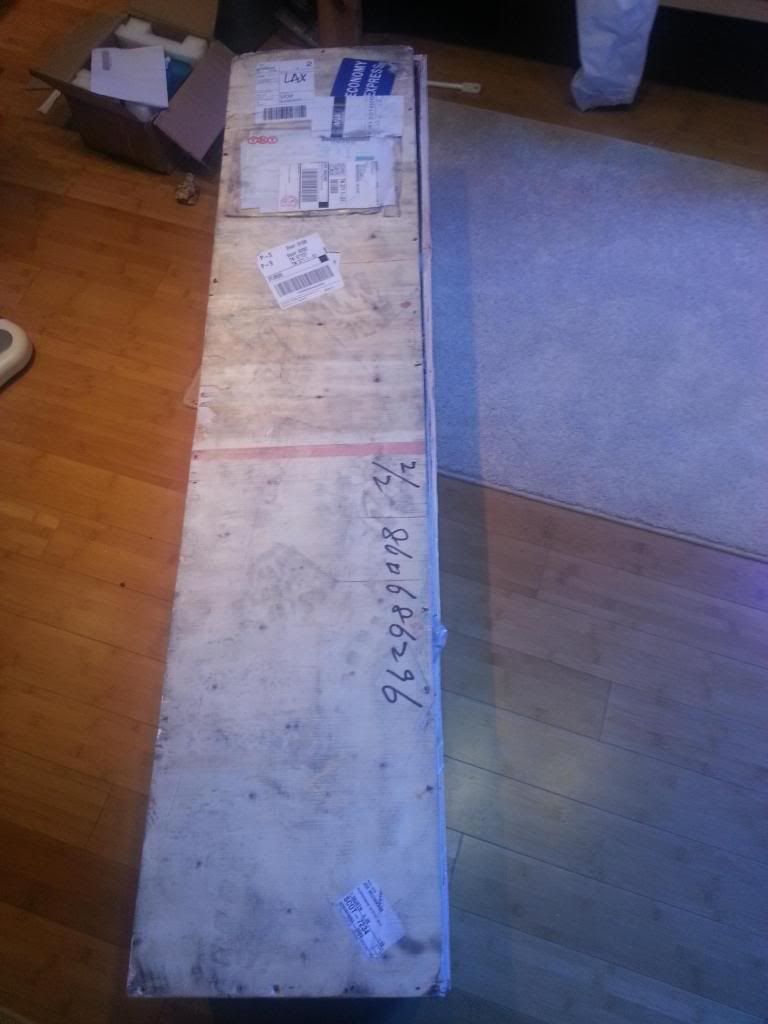
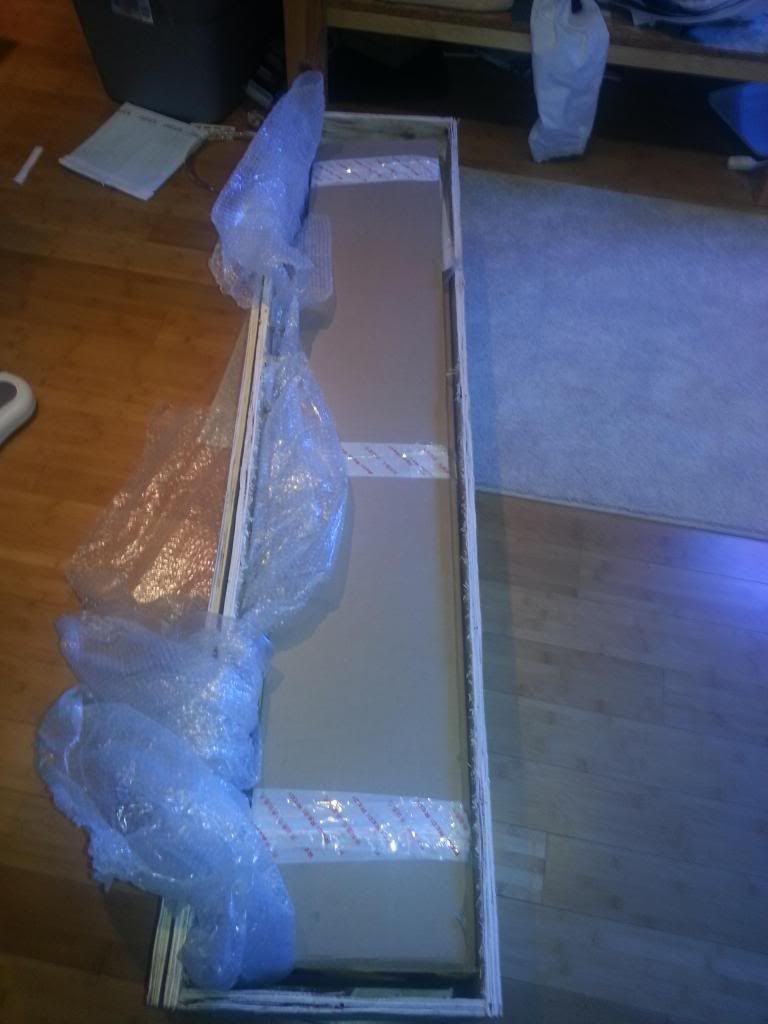
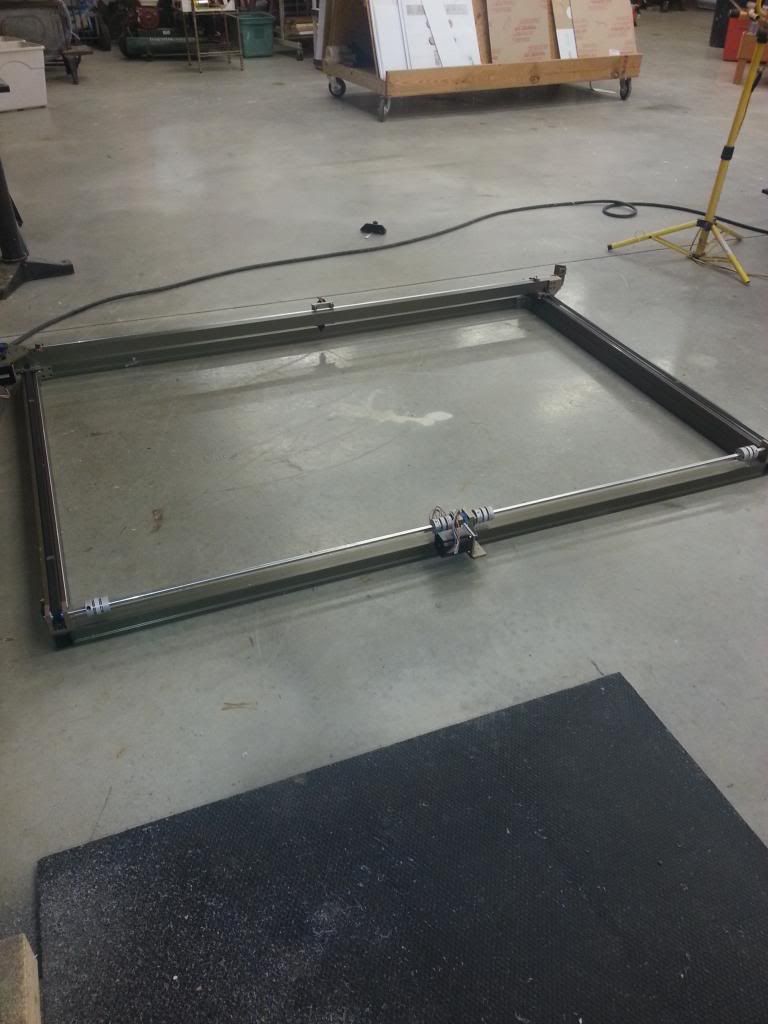
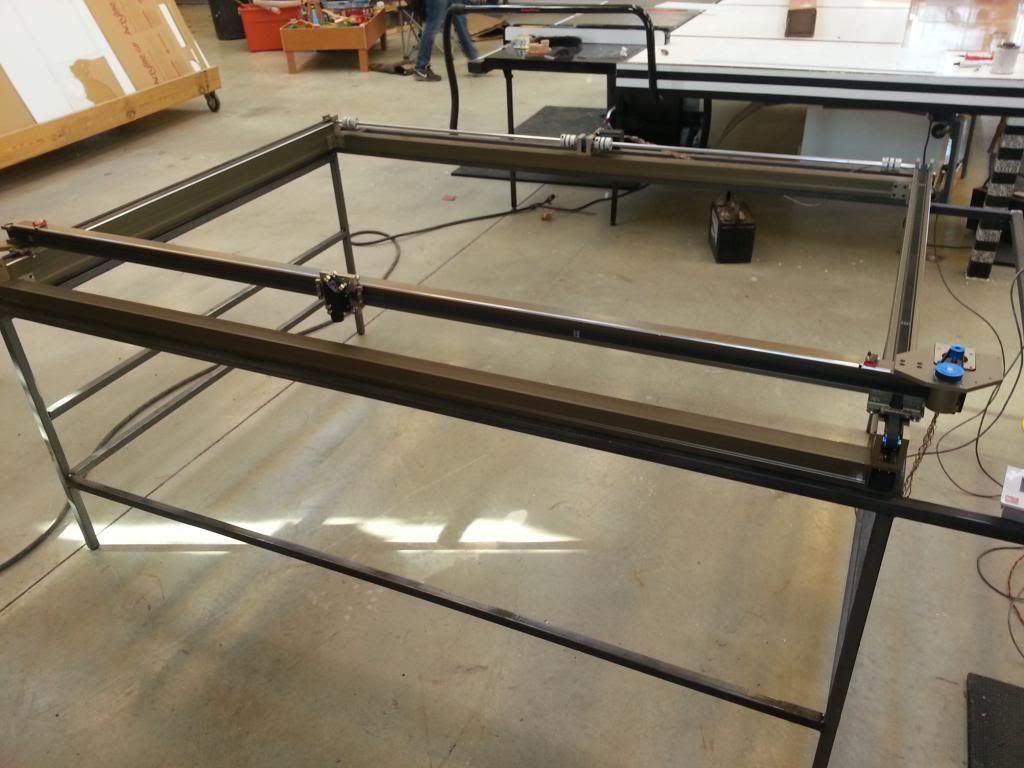
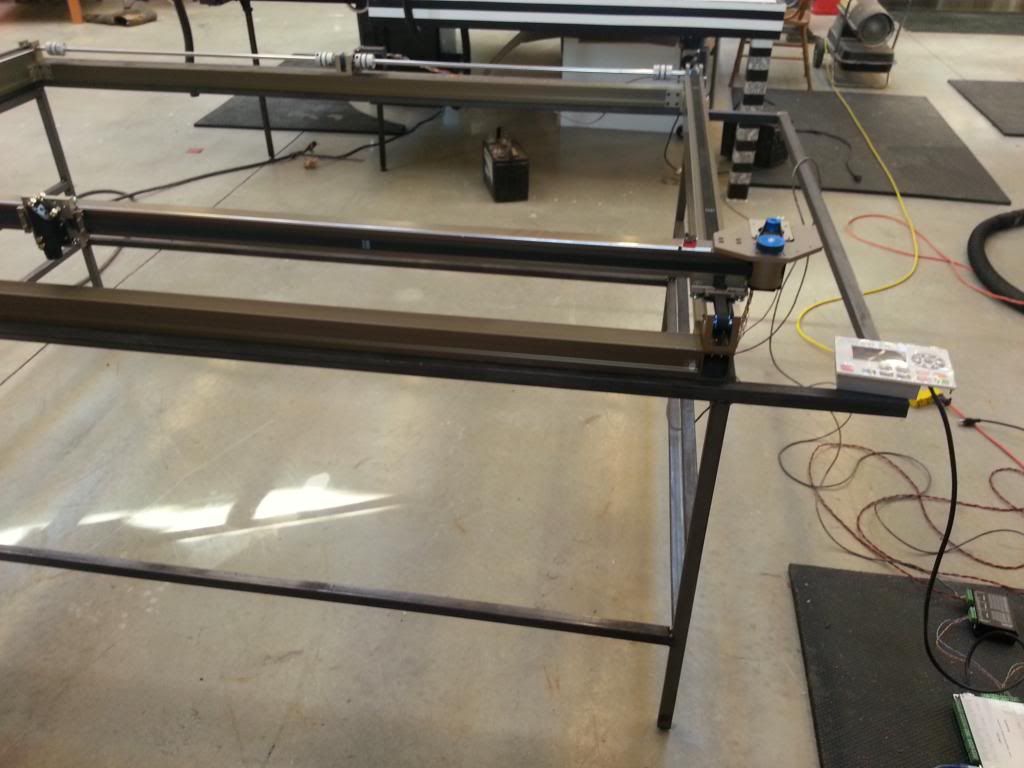
Here is the Gantry after being build. It is HUGE!!
Re: Mixer911's 1200*1800 mm C02 Laser Build
Posted: Mon Feb 25, 2013 7:35 am
by mixer911
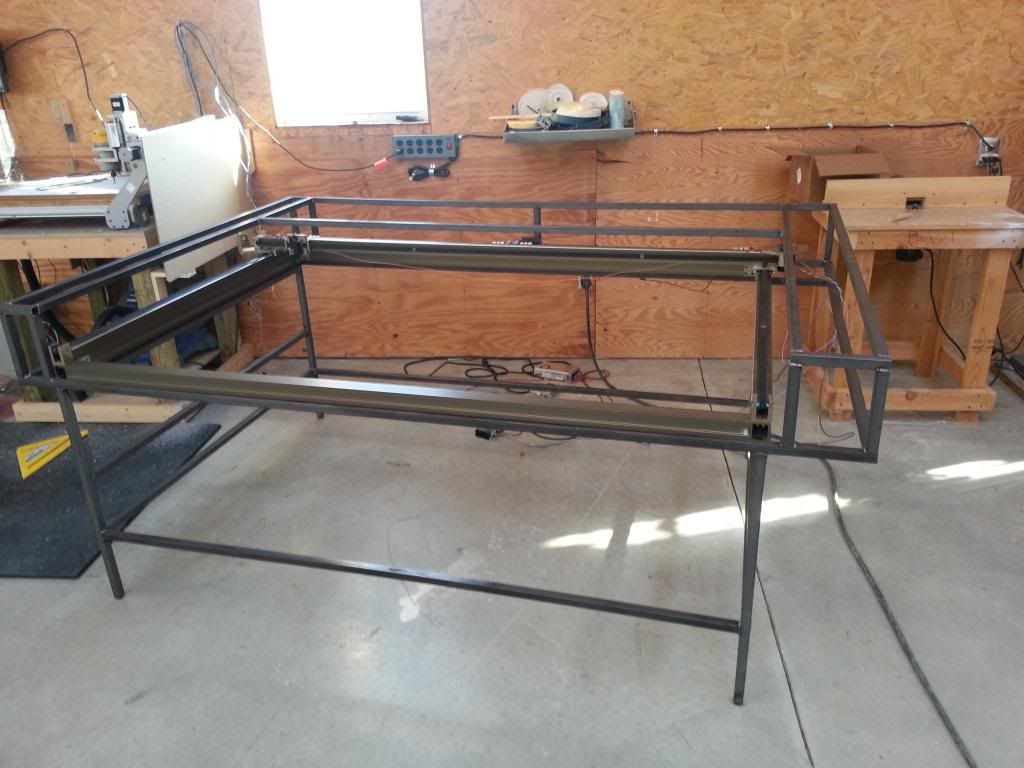
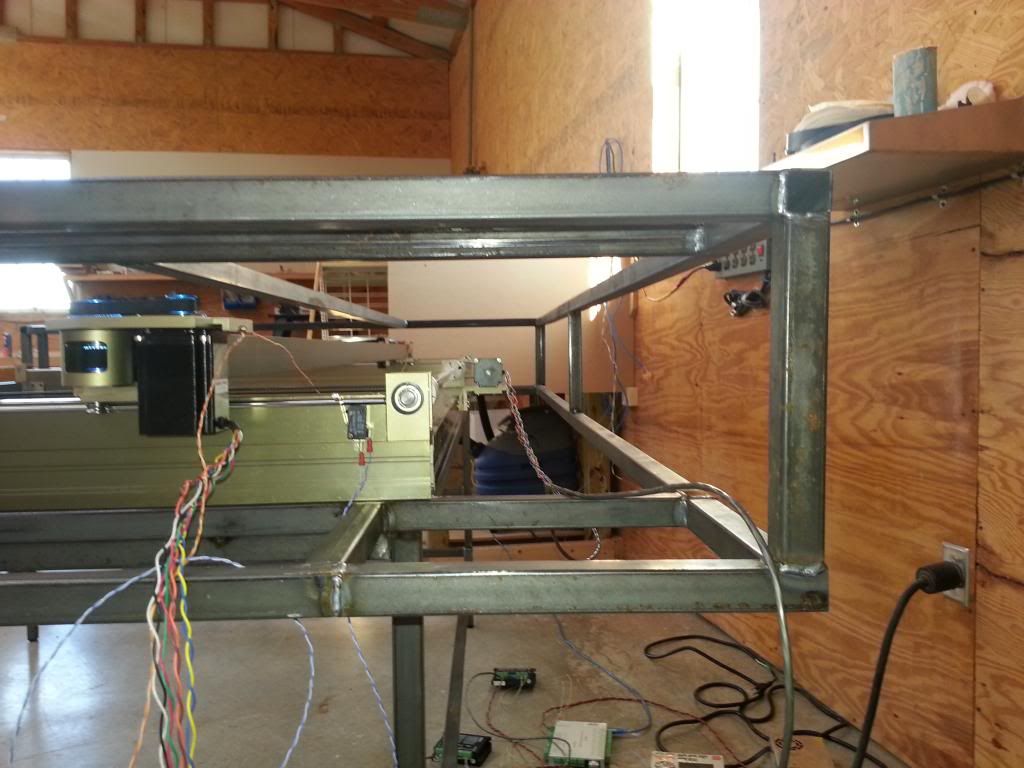
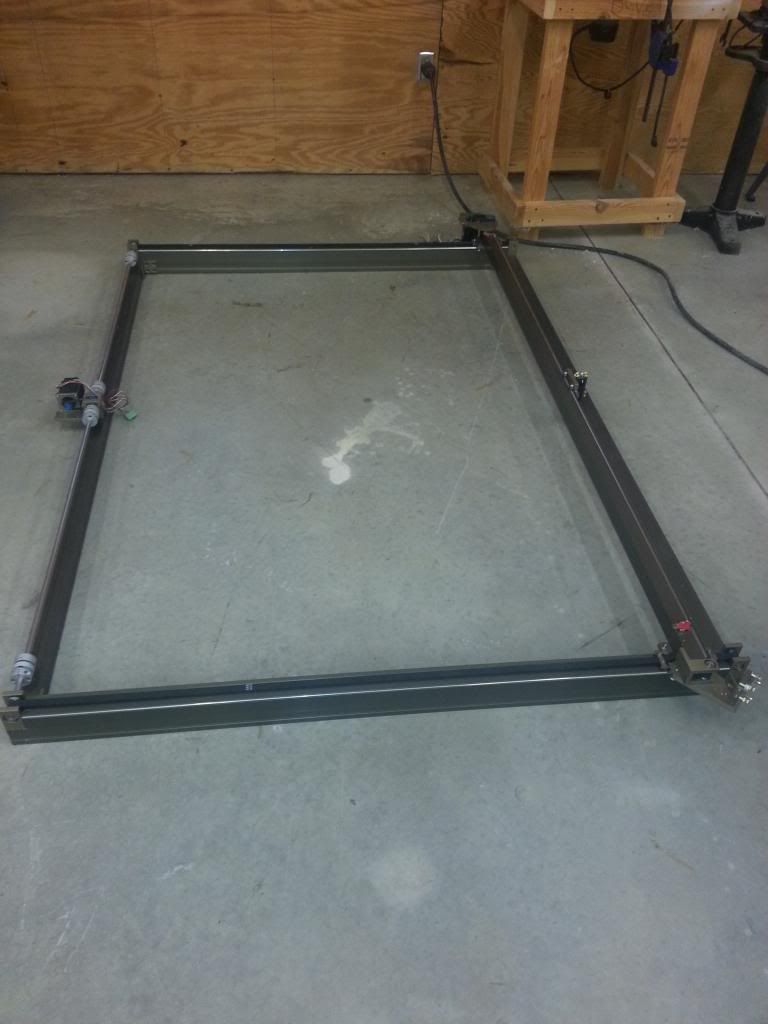
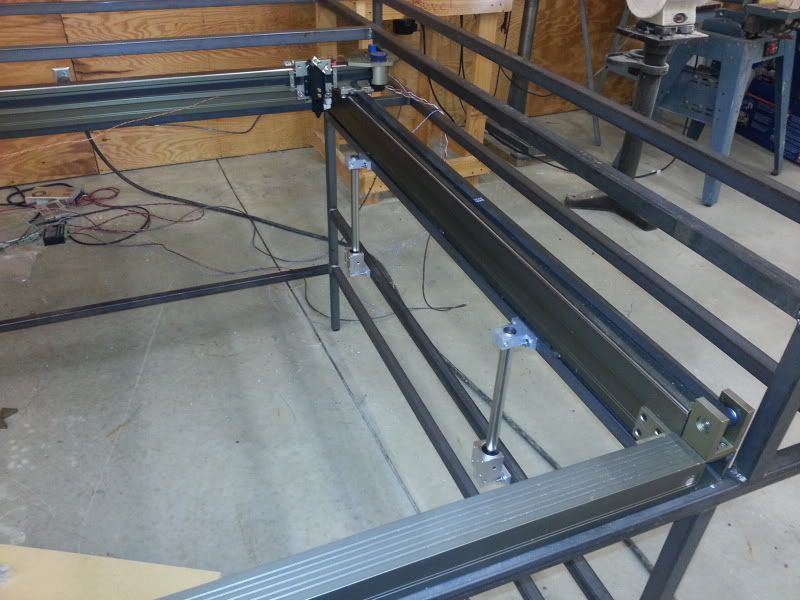
I have been welding a base frame for the gantry now. It will be 1" Box steel tube. Total over width is 95 3/4" x 68" deep x 30" tall. Here are some pics of the stand being build and the gantry being test fit.
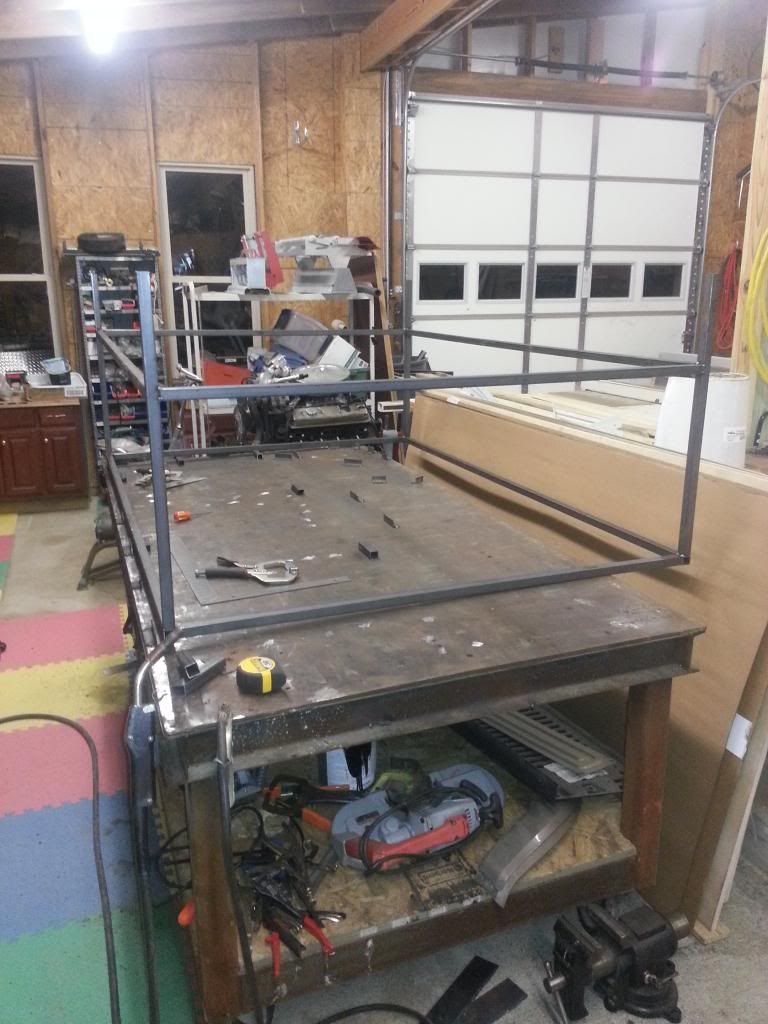
Test fitting the stand.
The stand still needs the top extensions on the sides welded on. It will have a lid over the top center as well.
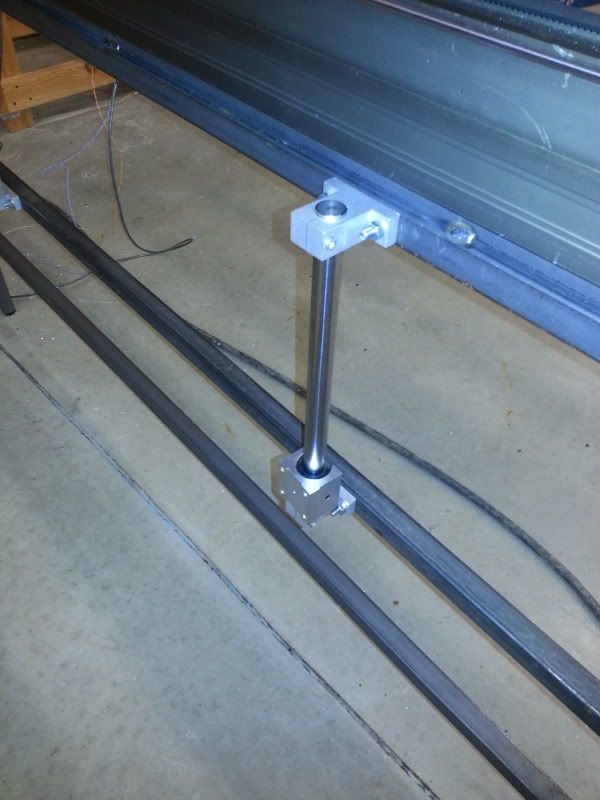
I plan on having a moveable Z axis that is being built out of 80/20 alumn.
Re: Mixer911's 1200*1800 mm C02 Laser Build
Posted: Wed Feb 27, 2013 11:16 am
by Tech_Marco
FYI, we're designing Z table for the stage. It's train driven instead of belt driven. Plus, it's made of stainless steel. Very solid and powerful
By the way, you may want to leave some room on the bottom part of the frame you're building. Why? I think it's better if you could load up some bricks to the bottom of the machine after completing your project. Remember that this is a big XY stage and when it is running at 1000mm/s, it may cause some vibrataion. So, if you have some bricks loaded to increase the mass (weight), it may miniumize the vibration and be more stable. Also, you may want to put some "T" or "angle" (I don't know what it call) to the four bottom lengs. Current the four legs seems a little bit "thin" and weak. I'm a little bit concerning the table may be 'sharking' when running at high speed. Just my through.
Marco
Re: Mixer911's 1200*1800 mm C02 Laser Build
Posted: Thu Feb 28, 2013 8:00 am
by mixer911
Thanks for the input marco! Now you tell me you are going to have a Z table, lol... I have been pulling my hair out designing one and I have it half way done.
I see what you mean about the bricks and adding (Mass) weight. There will be about 8" of empty space on the bottom part. I am planning on still building a top over the gantry with 1" steel as well. That will all be inclosed with a lid in the center as well.
They legs are actually pretty strong, but I could add some width to them for more surface area coverage. I really apprecaiate your input. This is my first laser build so any helpful input is great!
Re: Mixer911's 1200*1800 mm C02 Laser Build
Posted: Tue Mar 05, 2013 9:22 pm
by drandolph
Feel free to hit me up. I did my frame similar to your with a lid and exhaust and everything so if I can help please let me know.
FYI I'm the other guy doing the 1200*1800 build
3 notes.
1. Since I can adjust my laser head over an inch up and down and I don't plan to cut anything over 1" I decided not to go with a Z-table but I did leave a hole in my frame if I ever change my mind.
2. Make sure you have at least 5" of clearance from the top of your laser head to the lowest part of your lid or you cable chain for air assist will hit. I learned that the hard way.
3. Put extra support in your metal frame to hold the laser tube and mirror. I put in 1" square tube under each tube mount and under the mirror because I was noticing the 1/4" ply was flexing to much when it was moving.
Re: Mixer911's 1200*1800 mm C02 Laser Build
Posted: Wed Mar 06, 2013 7:24 am
by mixer911
drandolph wrote:Feel free to hit me up. I did my frame similar to your with a lid and exhaust and everything so if I can help please let me know.
FYI I'm the other guy doing the 1200*1800 build
3 notes.
1. Since I can adjust my laser head over an inch up and down and I don't plan to cut anything over 1" I decided not to go with a Z-table but I did leave a hole in my frame if I ever change my mind.
2. Make sure you have at least 5" of clearance from the top of your laser head to the lowest part of your lid or you cable chain for air assist will hit. I learned that the hard way.
3. Put extra support in your metal frame to hold the laser tube and mirror. I put in 1" square tube under each tube mount and under the mirror because I was noticing the 1/4" ply was flexing to much when it was moving.
Thanks!
The only thing I didn't think about was the clearance for the cable chain like you said. I think I may have about 4" of clearance. What size chain are you using? I may have to make a bracket to hold it behind the Y axis bar.
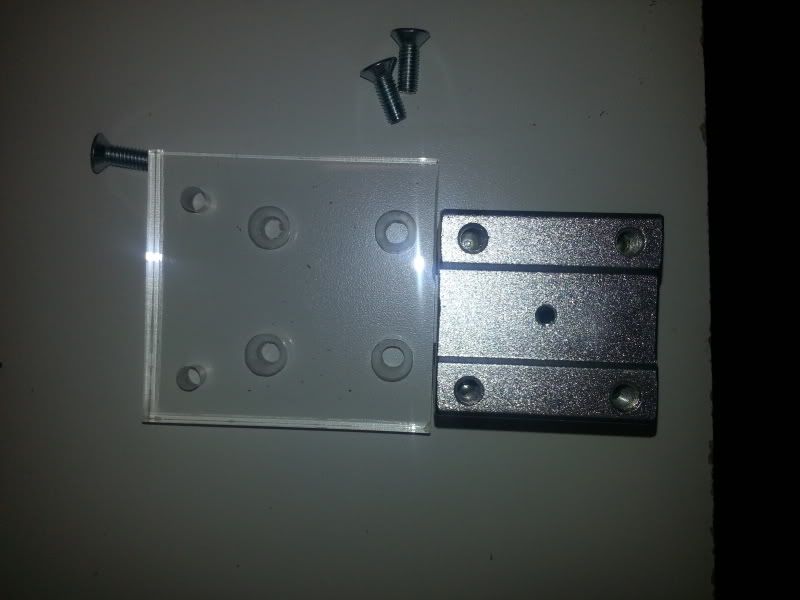
I just saw the F4 Tube adapter you made! Any chance you can make 2 for me

?? Those look awesome!
Re: Mixer911's 1200*1800 mm C02 Laser Build
Posted: Wed Mar 06, 2013 7:25 am
by mixer911
Re: Mixer911's 1200*1800 mm C02 Laser Build
Posted: Wed Mar 06, 2013 7:34 am
by mixer911
Re: Mixer911's 1200*1800 mm C02 Laser Build
Posted: Wed Mar 06, 2013 9:39 am
by drandolph
I used 48" of 10mm by 10mm drag chain for the xaxis since it just supports air assist and a 20x10 for the y axis to carry the wire and hose.
I also ordered 8pair 22guage wire from McMaster. It lets me have one wire to deal with. So my limit switch, stepper, etc are a lot easier to deal with.
Sure I can make you a set of holders. Send me a message and we can work it out.
Re: Mixer911's 1200*1800 mm C02 Laser Build
Posted: Sun Mar 10, 2013 5:51 am
by baccus61
Have you thought about welding some diagonal braces to the frame for extra stability or will you cover the outside with steel sheet to do that?
You might also need a beam expander to cover that distance.
Make sure if you are using a red alignment laser that you use one with a glass lens as the acrylic ones will melt at high power with a small amount of reflected energy bounced back through the beam combiner lens into the red pointer. Red alignment lasers are SO helpful for setting up the laser and also showing where the cut will start. Almost a necessity I think.
Looks like a good size laser table and a good power level. You will be very happy with it.

I just wonder how long it will be before you want to upgrade to a 150 watt one....lol
Rich.
Re: Mixer911's 1200*1800 mm C02 Laser Build
Posted: Sun Mar 10, 2013 10:05 am
by mixer911
baccus61 wrote:Have you thought about welding some diagonal braces to the frame for extra stability or will you cover the outside with steel sheet to do that?
You might also need a beam expander to cover that distance.
Make sure if you are using a red alignment laser that you use one with a glass lens as the acrylic ones will melt at high power with a small amount of reflected energy bounced back through the beam combiner lens into the red pointer. Red alignment lasers are SO helpful for setting up the laser and also showing where the cut will start. Almost a necessity I think.
Looks like a good size laser table and a good power level. You will be very happy with it.
I just wonder how long it will be before you want to upgrade to a 150 watt one....lol
Rich.
Thanks for the info Rich. I have some updated photos of the build so far as well here.
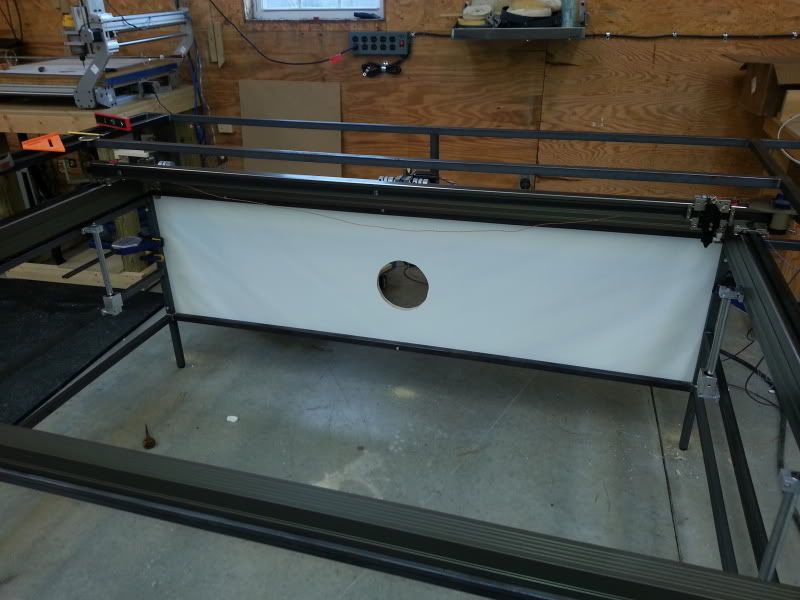
I and using 3/4" white melamine board and bolting it to the outside of the frame. This will also create the chamber for the exhaust vaccum for the main part of the gantry. This is adding a HUGE amount of stability to the frame and also adding a lot of mass. It is rock solid now even with just the back piece I have on it so far. I will then cover the top of the gantry with sheet metal to seal it up.
Here is a shot of the back piece on the gantry:
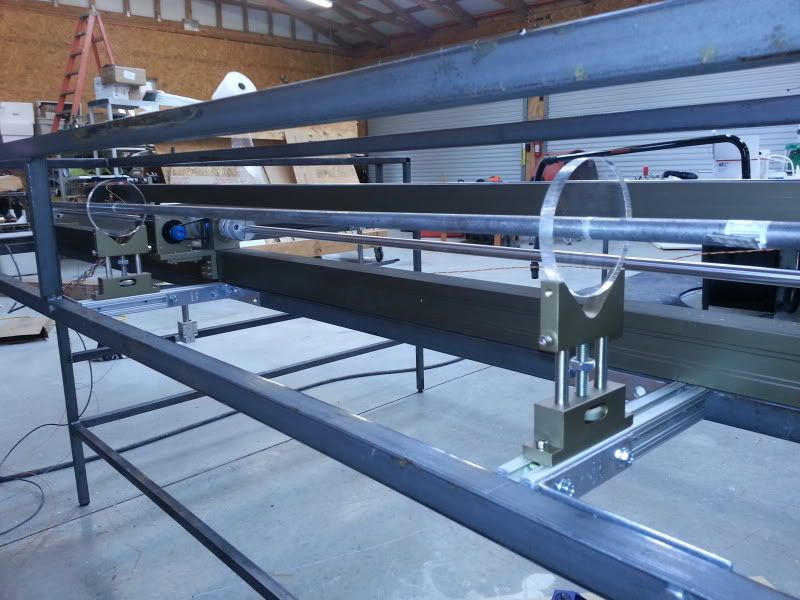
I was able to get the linear bearing and rods attached for the Z axis.
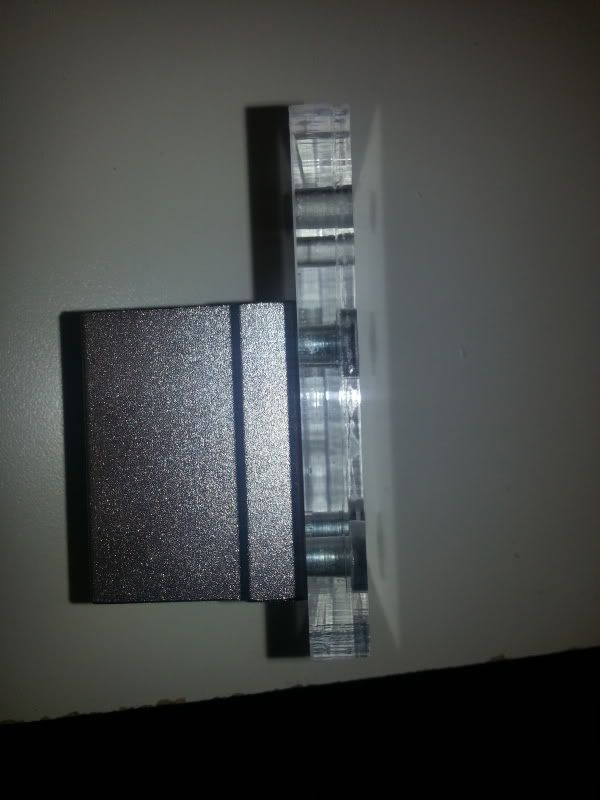
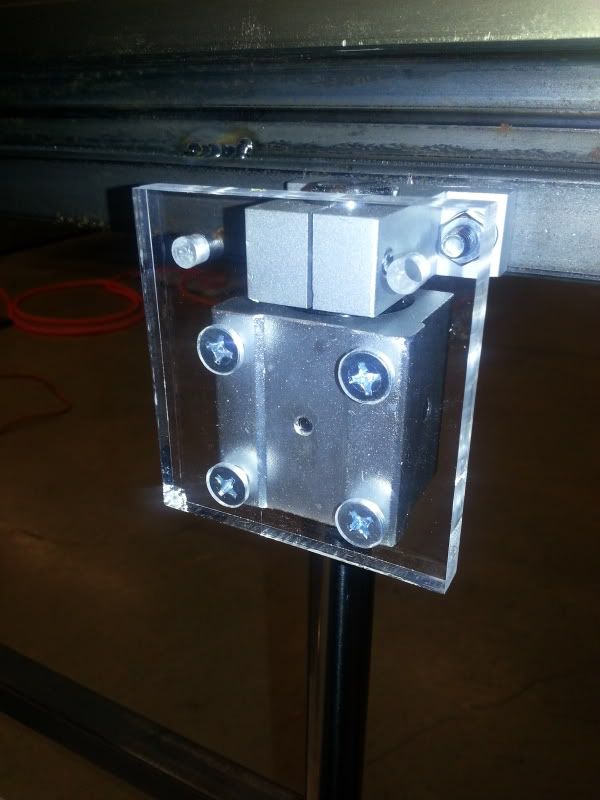
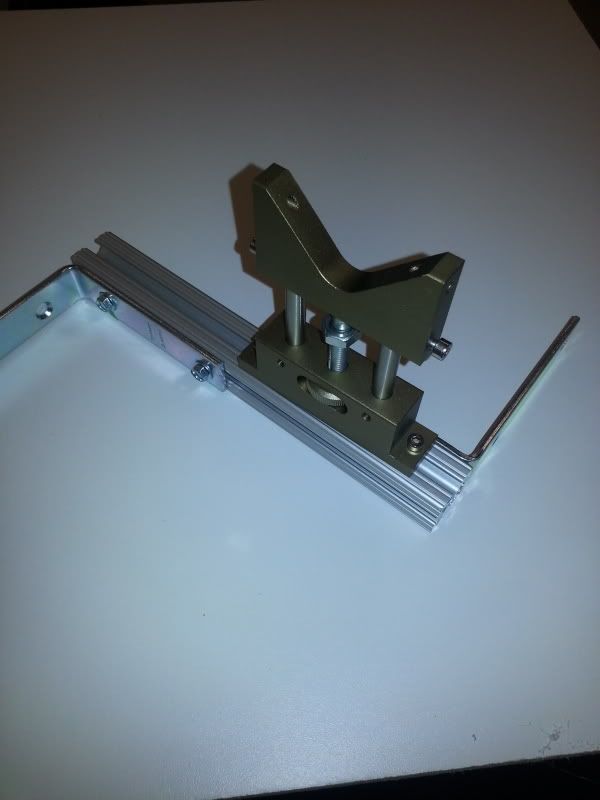
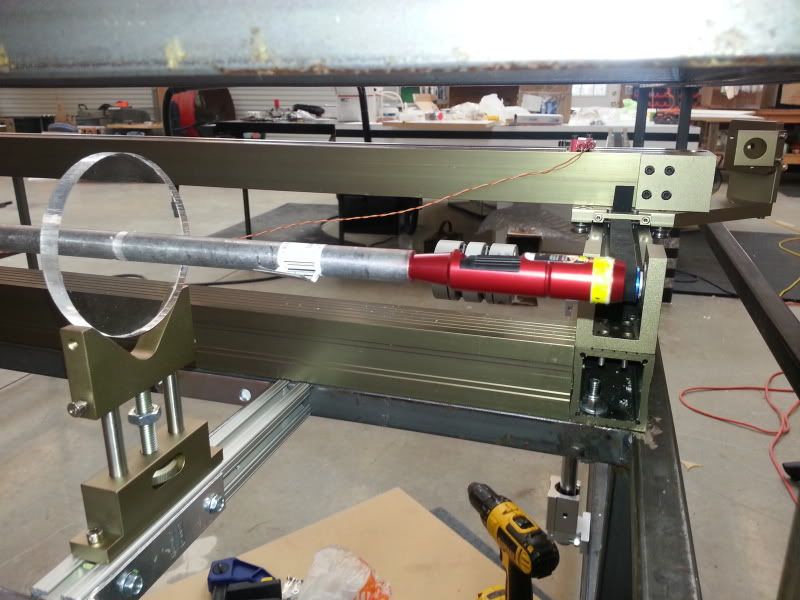
As for the laser mount and alignment I build 2 brackets out of 80/20 alumn. I then attached the LO laser tube holders on that. drandolph is sending me 2 of his laser tube holders that he made to slip over the stock tube holders. They should be here next week. Here are the brackets I made:
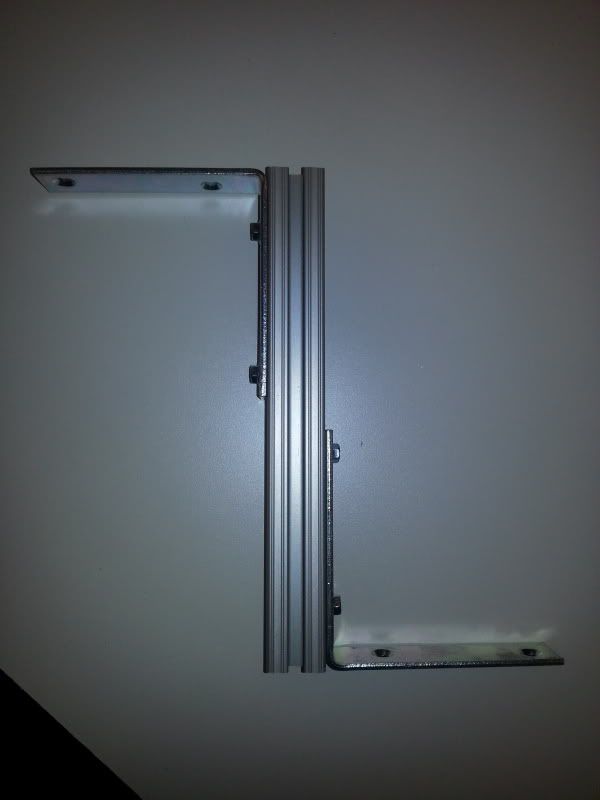
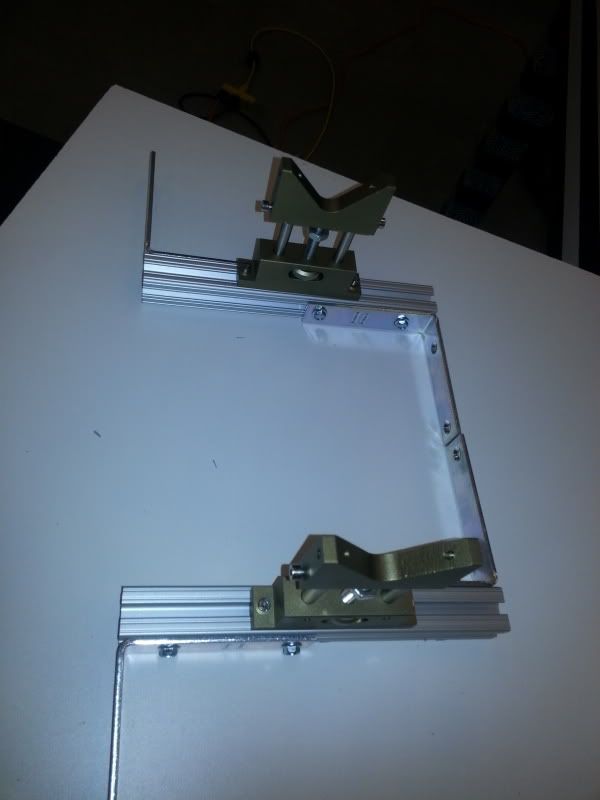
And attached to the frame:

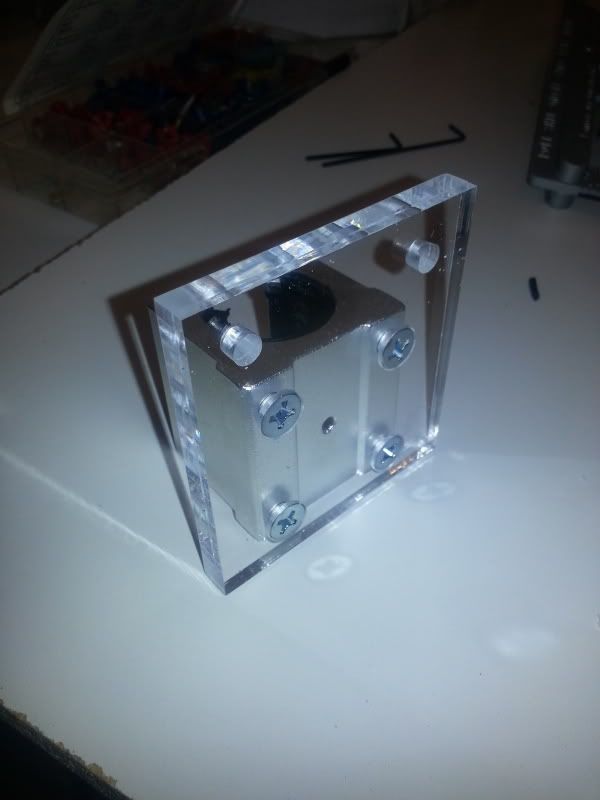
I am using a red dot laser that is for sighting in a rifle scope as my alignment laser. I made 2 80mm circles out of 3/8" acrylic and put a steel tube in the center. The alignment laser has a twist mechanism that centers it in the tube:
Today I am going to work on getting the electronics mounted in a box and start wire management.
Tell me what you guys think so far?
Re: Mixer911's 1200*1800 mm C02 Laser Build
Posted: Mon Mar 11, 2013 9:45 am
by mixer911
Re: Mixer911's 1200*1800 mm C02 Laser Build
Posted: Sat Mar 23, 2013 9:48 pm
by mixer911
Haven't been updating pics, but there is lots to post. I have the laser up and running now. Was able to spend all day today test cutting. Having an issue with the power settings on the laser. Cannot get it to run full power when cutting

Here is a video of the first etchings I did as a test for the control panel.
http://youtu.be/NjYSw5GJ9As
And the laser tube firing. This is cool in 1080p
http://youtu.be/iJW202jImek
Re: Mixer911's 1200*1800 mm C02 Laser Build
Posted: Sat Mar 23, 2013 10:34 pm
by drandolph
Looking good. It looks like your at the same place as me and not able to focus thru the nozzle. If you have I'd love to hear how you did it. As for your laser power. Check a few places. Do you see on the display the laser is at 98%? If I remember correctly there is a hard max power in the settings on the software and on the panel. Also be sure in the software you're working with laser 1 and not laser 2
Re: Mixer911's 1200*1800 mm C02 Laser Build
Posted: Sun Mar 24, 2013 8:40 pm
by mixer911
Thanks David!
Yea, I think I finally have the beam focused or real close to being focused. I used 2 different red laser pointers to align the mirrors. It took over 2 days, but finally feel good about the alignment.
The power issue is driving me crazy, lol... I should be able to cut at faster speeds than 2mm/sec with 6mm acrylic. I have checked all the power settings in the software and set them to either 98% or 100 (layers).
Here is a test video I posted in the other thread showing the power settings. You can see the control panel power max out at 98% and the power is only 17.9mA.
http://youtu.be/TwiW87hmqZo